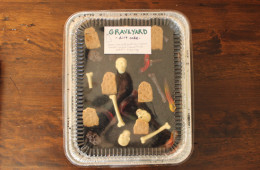
Add a little Halloween flair to the usual Dirt Cake.
This past weekend, I volunteered to make two cakes for the cake walk at our school's fundraising event, Pu...
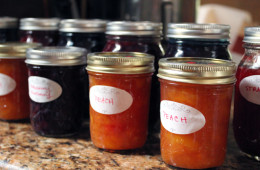
Saturday, August 17th is Can-It-Forward Day. Who wants to trap the flavors of summer in jars with me?! Read on for the giveaway...
For years, I have had "prese...
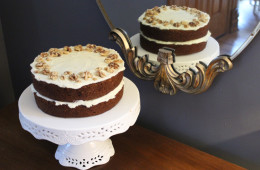
I just came across these photos from April, when I made my husband the carrot cake he had requested for his birthday. When I first posted this recipe, I claimed...
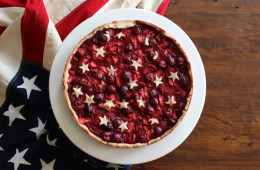
Put your pie or tart dough scraps to work and add some star-spangled flair to the top of your dessert.
Our poor dog. Already, the firecrackers have begun shout...
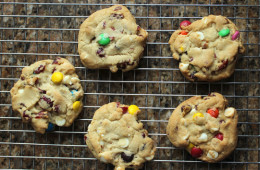
This cookie was created by my brood primarily to carry a slew of chewy and sweet goodies.
The girls have been spending many Fridays home with their Daddy. They...
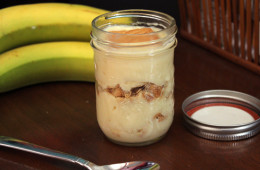
Putting banana pudding parfaits in jars make them easy to store and easier to bring with you.
Somewhere online, I saw this book about desserts in jars. I sor...
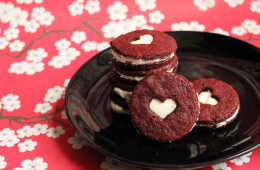
Let Red Velvet season begin!
Red Velvet is today's culinary "it" girl. Dozens of dedicated Pinterest boards, devoted red velvet enthusiasts, concoctions of all...
It's not over until it's over.
Let's not call it quits on all the decadence just yet. The holiday spirit is still lingering in the air and for many of us lucky...
After a silly turn of events and a third annual holiday party, it's been determined that THIS is the winning rum cake.
Two years ago, I was 8 months pregnant w...
My clever pal Ebony, of Snow & Graham, has been making delightful videos this season sharing easy, DIY holiday projects. This recent video was born from a...
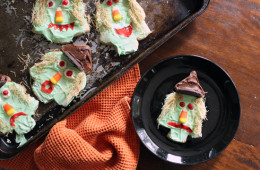
This weekend, we learned that a Christmas Tree cookie cutter can also make Halloween Witch cookies.
On Saturday, Mini Whipped and I spent nearly a half hour sc...
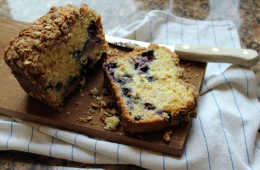
You will be a welcome guest if you show up for a weekend at a friend's house with a warm blueberry loaf cake.
Writing this post is a bit of self-torture. You...